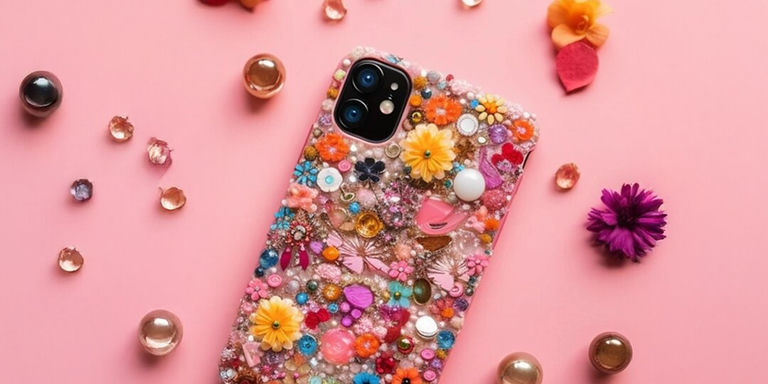
Glam It Yourself: Ultimate Rhinestone Phone Case

In a world filled with fun and unique phone cases, standing out from the crowd can be a challenge. But fear not! With a bit of creativity and a touch of sparkle, you can transform your ordinary phone case into a dazzling accessory that reflects your unique style. In this DIY tutorial, we'll show you how to create your own rhinestone phone case—a fun and easy project that adds glamor and bling accessories to your everyday life. So grab your supplies and let's get crafting!
Materials Needed
Here’s what you’ll need for your sparkling project:
- Plain phone case (compatible with your phone model)
- Flatback rhinestones in assorted colors and sizes
- Crafting gem glue or adhesive
- Tweezers or a rhinestone applicator tool
- Small paintbrush (optional)
- Clear sealant spray (optional)
Step 1: Plan Your Design
Before you start gluing rhinestones onto your phone case, take some time to plan your design. You can create a simple pattern, spell out words or initials, or go for an intricate custom rhinestone motif—it's completely up to you! Sketch out your idea on paper or use a photo editing app to visualize the look before you begin.

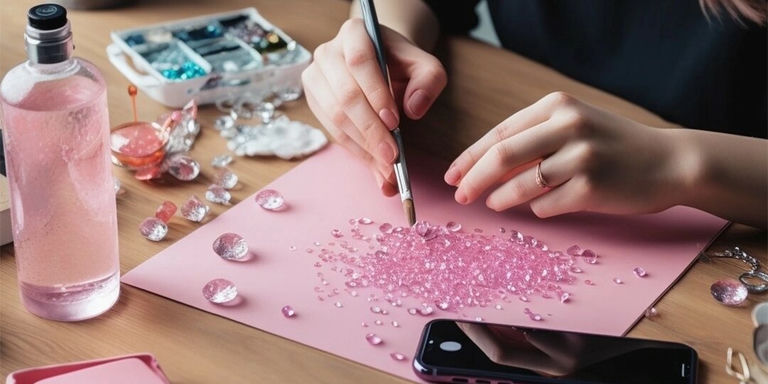
Step 2: Apply Adhesive
Once you've finalized your design, it's time to start gluing. Using a small paintbrush or the applicator tip of your adhesive, apply a tiny amount of glue to the back of each rhinestone. Avoid excess glue for a clean, polished finish on your DIY rhinestone project.
Step 3: Place Rhinestones
Using tweezers or a rhinestone applicator tool, carefully place each rhinestone onto your phone case according to your design. Flatback rhinestones work beautifully for precise placement and smooth finishes. Take your time for perfect results!
Step 4: Let It Dry
Allow the adhesive to dry completely before handling your phone case. Drying typically takes 24 hours, but always check your adhesive’s instructions. Avoid touching or adjusting the rhinestones while the glue sets to maintain your intricate design.
Step 5: Seal the Design (Optional)
For extra durability, you can seal your rhinestone phone case with a clear sealant spray. Hold the can about 6-8 inches away and spray an even coat across the surface. Let it dry thoroughly to protect your gorgeous bling accessories from wear and tear.
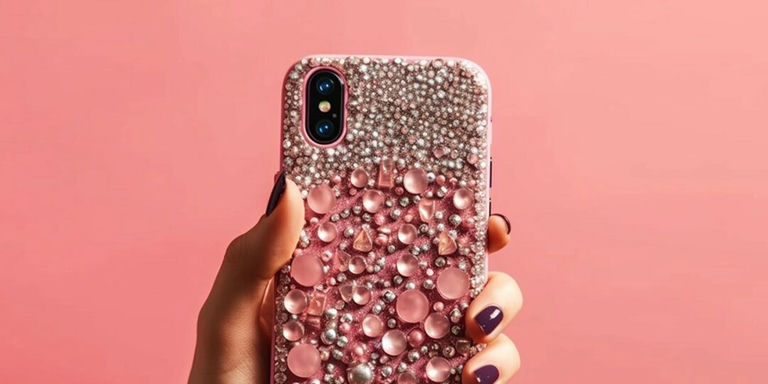
Step 6: Enjoy Your Sparkling Creation!
Once everything is dry, pop your phone into its dazzling new case and shine! Whether you're showing off pearls, acrylic rhinestones, or a vibrant array of rhinestuds, your custom rhinestone case will turn heads and showcase your sparkling creativity. Get ready to snap selfies, text in style, and flaunt your glam look wherever you go!
Comments
Leave a Comment