DIY Guide: Hand-Stone Your Own Sparkling Gymnastics Leotard
Hello, fellow sparkle enthusiasts! For those who love a dash of glitz and glam in everything, you're going to love today's post. Sparkles Rhinestones is thrilled to guide you through the delightful world of DIY handstoning gymnastics leotards. Creating your own hand-stoned leotard is not just a fun and creative project, but it also allows you to inject your personal style into your outfit.

So let’s get started!
Materials You Will Need:
Gather these essentials before you begin:
- A gymnastics leotard
- Flat back rhinestones (for easy adherence)
- Special rhinestone glue or fabric glue
- A pair of tweezers
- A wax pencil (to pick up rhinestones)
Step 1: Design Your Leotard
First things first, decide on the design you want. You can go for simple patterns like your initials or a star, or go all out with intricate motifs. We suggest starting small if you're a beginner and gradually moving to more complex designs as you gain confidence.

Step 2: Prepare Your Leotard
Before you start adhering rhinestones, make sure your leotard is clean and completely dry. If you're decorating a large area, lightly sketch out your design with a fabric-safe pen or chalk pencil.
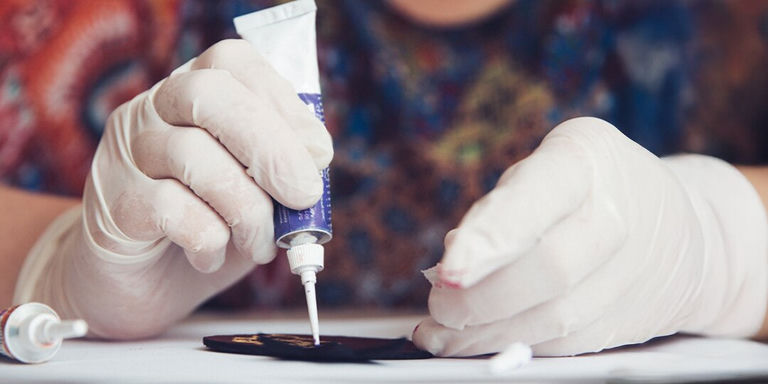
Step 3: Get Stoning!
Using tweezers or a wax pencil, pick up a rhinestone and dab a small amount of glue on the back. Press the stone firmly into place on the leotard. Less is more with glue—you want that sparkle to shine cleanly without overflow!
Step 4: Let It Dry
Once your rhinestones are in place, allow the leotard to dry for at least 24 hours. This ensures everything bonds securely before it hits the floor—or the beam!
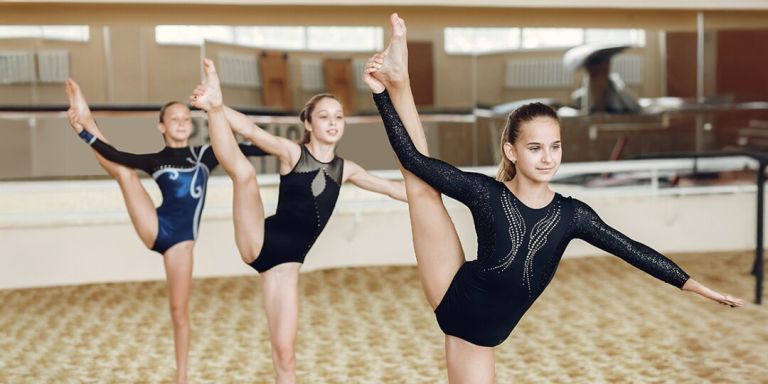
Step 5: Show Off Your Sparkle!
It’s showtime! Slip into your custom stoned leotard and shine with every flip, leap, and pose. Your hard work (and sparkle) will absolutely dazzle under the lights!
Bonus Tips:
A few quick extras to help you slay your sparkle:
- ✨ Choose high-quality rhinestones for maximum shine.
- ✨ Hand wash only to preserve your sparkle work.
- ✨ Don’t stress over perfection—practice makes sparkle pros!
And there you have it—a step-by-step guide to handstoning your own gymnastics leotard. Remember, the sparkle isn't just in your outfit—it's in the confidence and creativity you bring to the mat. Keep shining and stay fabulous!
Comments
Leave a Comment