Mastering Rhinestone Transfers: A Complete Guide

Rhinestone transfers are a crafter’s dream for creating professional-quality designs with minimal effort. Embellishing a T-shirt, tote bag, or jacket? Mastering this technique can take your projects to the next level. Ready to sparkle? Let’s dive into the essentials of rhinestone transfers!
1. Gather Your Tools
Before starting, make sure you have the right supplies:
- A rhinestone transfer sheet or template
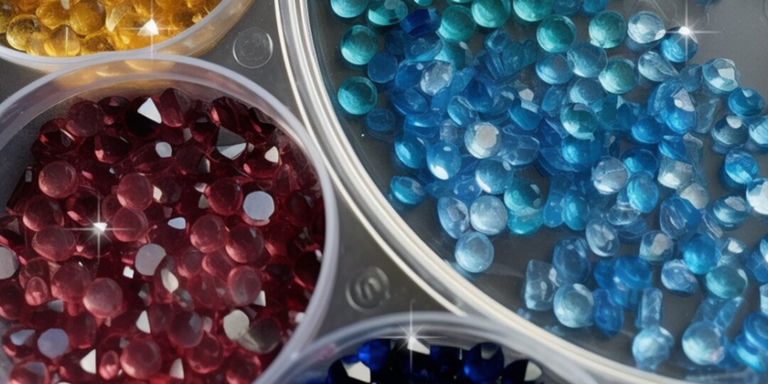
- Loose rhinestones (hot-fix or flat-back, depending on your project)
- A transfer film or hot-fix tape
- A heat press or iron (for hot-fix stones)
- Tweezers or a rhinestone applicator tool
These tools will set the stage for a smooth and efficient process.
2. Create Your Design
You can buy pre-made rhinestone templates or create your own. To DIY, print your design on paper and place it under a transfer sheet. Arrange the rhinestones onto the sticky side of the sheet, using tweezers for precision.
Pro Tip: Stick to simple shapes and text for your first few projects to get the hang of it!
3. Prepare Your Surface
Ensure the item you're decorating is clean and smooth. For fabric, pre-wash it to remove sizing or finishes that might prevent adhesion. Position the transfer design on the surface and check its placement before moving to the next step.
4. Apply Heat
If you're using hot-fix rhinestones, this step is where the magic happens. Follow these guidelines for best results:
- Heat your iron or press to the temperature recommended by your rhinestone manufacturer.
- Cover the transfer with a protective sheet (like a piece of fabric or parchment paper) to avoid direct heat contact.
- Press firmly for 10–20 seconds.
- Avoid moving the iron to ensure the rhinestones bond properly.
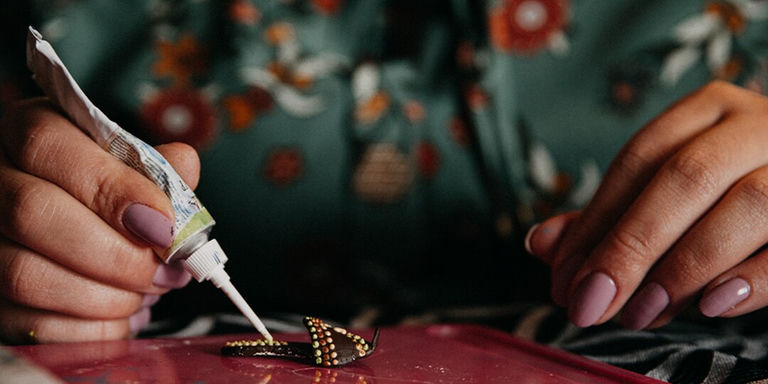
For flat-back rhinestones, use an adhesive and let it cure according to the product’s instructions.

5. Peel and Sparkle
Allow the transfer to cool before peeling off the backing tape carefully. Check that all rhinestones are securely attached. If any stones are loose, reapply heat or adhesive as needed.
Final Tips for Success:
- Practice on scrap fabric to perfect your technique.
- Store transfer sheets in a cool, dry place to prevent losing stickiness.
- Experiment with layering colors or mixing rhinestone sizes for unique effects.
With these tips, you’ll be a rhinestone transfer pro in no time. Get ready to shine!
Comments
Leave a Comment