Sparkle and Shine


Valentine's Day is a celebration of love and affection, and what better way to express your feelings than with a handmade card that sparkles and shines? In this DIY crafting adventure, we'll explore the art of creating personalized Valentine's Day cards using the dazzling brilliance of rhinestones. Whether you're a seasoned crafter or a beginner, this creative journey promises to add an extra touch of glamor to your heartfelt messages.

Gathering Your Supplies
The Essentials for Rhinestone Magic
Before diving into the creative process, gather your crafting essentials. Here's a basic list to get you started:
- Blank cards or cardstock
- Rhinestones in various sizes and colors
- Craft glue or adhesive dots
- Fine-tip glue applicator
- Pencil and eraser
- Tweezers (for precise placement)
- Stamps, ink pads, or markers (optional for additional decoration)
- Greeting stamps or stickers (optional for messages)
Designing Your Card
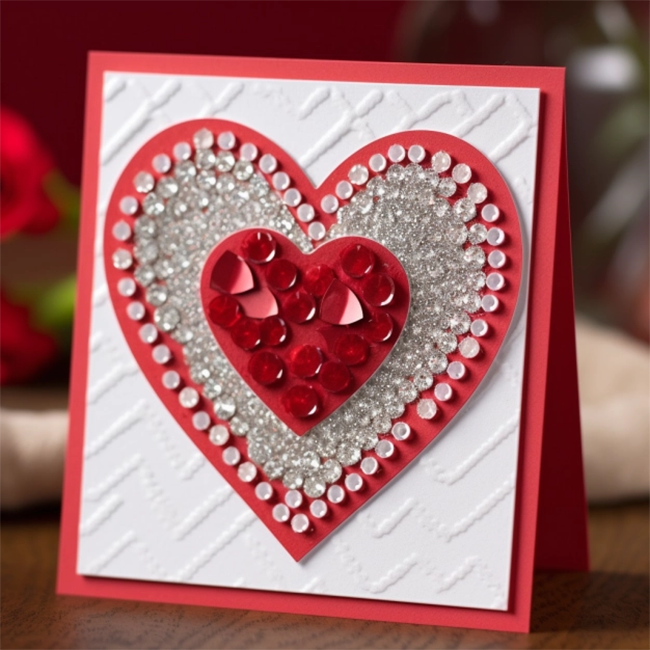
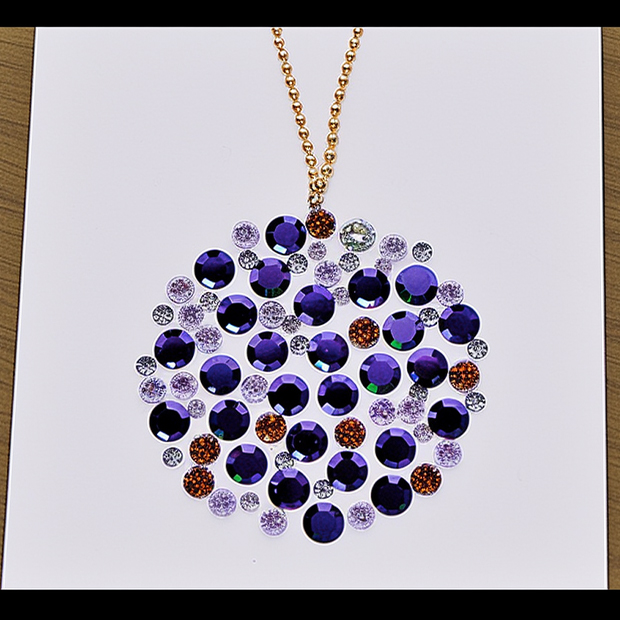
Begin by sketching out your card design on a piece of paper. Consider classic Valentine's Day motifs like hearts, Cupid's arrows, or love letters as your starting point. Once you have a rough idea, plan where you want to place the rhinestones for maximum impact. Whether you opt for a symmetrical arrangement or a more abstract design, the key is to let your creativity flow.
Choosing the Right Rhinestones
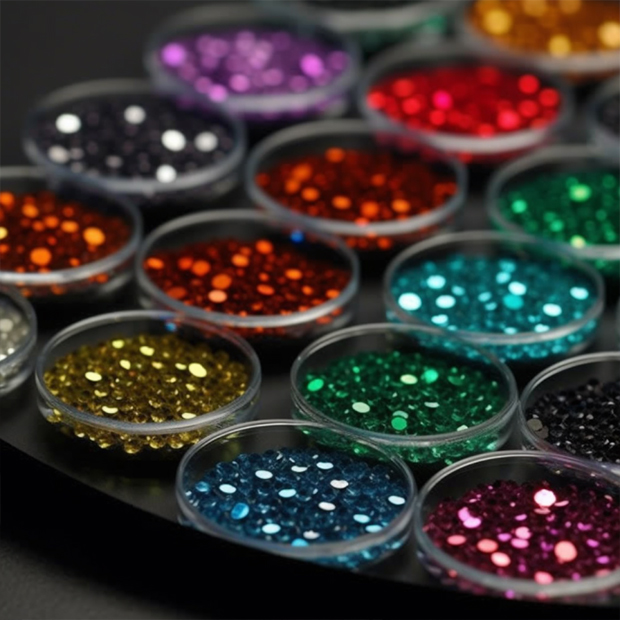
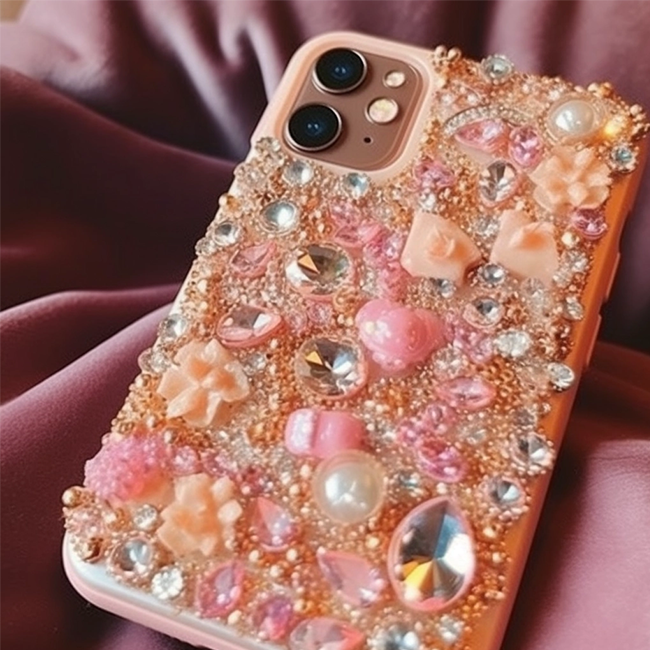
Rhinestones come in a variety of sizes, shapes, and colors, allowing you to customize your cards to fit the recipient's taste. Select a color scheme that complements your overall design and consider using different sizes to add dimension. From classic reds and pinks to elegant clear crystals, the choices are endless. Experiment with combinations until you find the perfect mix for your Valentine's masterpiece.

Applying Rhinestones with Precision
A Labor of Love
Using a fine-tip glue applicator or craft glue, carefully apply adhesive to the back of each rhinestone. If you're working with small rhinestones, tweezers can be a handy tool for precise placement. Follow your sketched design, and slowly add rhinestones one by one. Whether you're outlining a heart or creating a dazzling pattern, patience is key. Allow the glue to dry completely before handling the card to ensure a secure bond.
Adding Personal Touches
Enhance the charm of your rhinestone-adorned cards by incorporating additional personal touches. Stamp a sweet message, add a handwritten note, or include themed stickers that complement your design. The combination of rhinestones and personalized elements will make your Valentine's Day card truly unique and cherished by the recipient.
Sealing the Love
Once your rhinestones are securely in place and any additional elements are added, step back and admire your handiwork. Your DIY Valentine's Day card is now a sparkling testament to your creativity and affection. Place it in an envelope, ready to be given to that special someone as a beautifully crafted keepsake that captures the essence of love.

Crafting DIY Valentine's Day cards with rhinestones is a delightful way to infuse a touch of glamor into your heartfelt messages. Whether you're creating cards for friends, family, or a significant other, the sparkle and shine of rhinestones add an extra layer of magic to your expressions of love. So, gather your supplies, let your imagination run wild, and embark on a crafting journey that turns simple cards into dazzling works of art. Happy crafting, and may your Valentine's Day be filled with love and creativity!
About the Author

Related Posts
How It's Made:

Designing Dazzling Costumes
Rhinestone Design and Placement