Rhinestone Nail Art
Rhinestone nail art is a popular trend that has been around for a while now. It is a great way to add some sparkle and glamor to your nails. Rhinestone nail art can be done in many different ways, on natural nails or acrylics; using nail glue, gel, or even just topcoat.
Step 1: Gather Your Supplies
To create rhinestone nail art, you will need the following supplies:
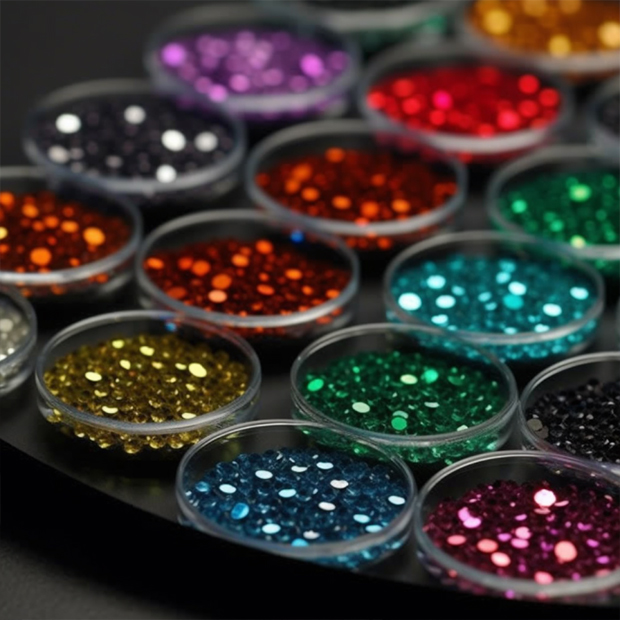
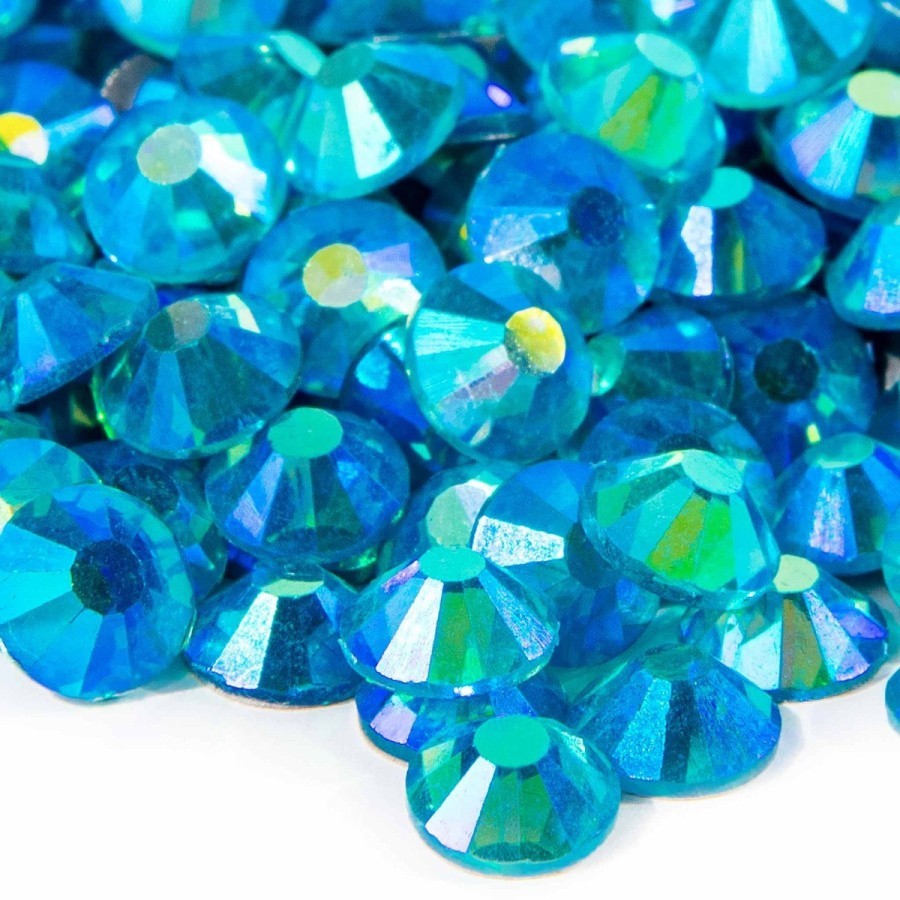
- Flatback Rhinestones
- Nail polish
- Clear topcoat
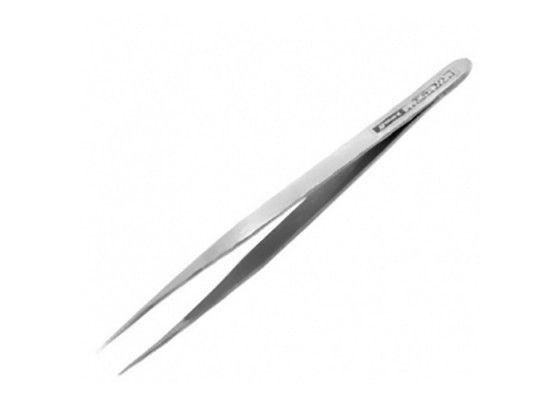
- Tweezers, wax pencil, or another tool to easily grab the rhinestones.
- Toothpick or dotting tool
- Nail glue, or gel (optional)
Step 2: Choose Your Design
Before you start applying rhinestones to your nails, you need to decide on a design. You can choose a simple design such as an arch of rhinestones around your cuticle, or a more intricate design, such as a pattern or shape made out of rhinestones. You can find inspiration for designs on social media platforms like Instagram and Pinterest.
Step 3: Apply Your Base Coat and Polish
Once you have chosen your design, it's time to apply your base coat. Apply your base coat to your nails and two coats of color polish as usual.
Step 4: Apply Your Adhesive
If you are using gel or acrylic, you will now need to apply either nail glue or the adhesive of your choice. You can either apply the adhesive directly to your nail or to the back of the rhinestone depending on what feels most comfortable to you. If you are using glue, you will need to apply the rhinestones immediately after the glue is exposed to air. If you are using gel or another agent that has to be cured under a UV light, you will have more time to apply the agent, apply the rhinestones and shift or adjust them as needed. This is where you can use a toothpick to apply the adhesive to either your nail or the back of the rhinestone.
Step 5: Apply Your Rhinestones
Using tweezers or a wax pencil, pick up a rhinestone, apply the stone to your nail and press down gently. If you are using nail glue, hold for the amount of time recommended on the glue bottle. Repeat this process until you have applied all of your desired rhinestones.
Step 6: Apply Your Topcoat
Once you have applied your rhinestones, it's time to apply your topcoat. Apply a clear topcoat over your entire nail NOT including the rhinestones. Very carefully apply the topcoat around the base of the rhinestones and especially try to seal the edges where the lip of the rhinestone might get caught on something. If you cover the entire rhinestone the effect can look quite messy and it will dull the brilliance of the stones. You can use a small detail brush to get around the base of the rhinestones if needed. If you choose to just place the rhinestones in your topcoat, apply a thick layer of topcoat then place your rhinestones and allow your nails to dry. If you are using regular polish, you can apply a second layer of topcoat to help secure the rhinestones better. After you have applied your topcoat, let your nails dry or cure completely then show off your beautiful rhinestone nail art!


